Roofing Essentials Every Contractor Should Know: From Flashing to Drainage
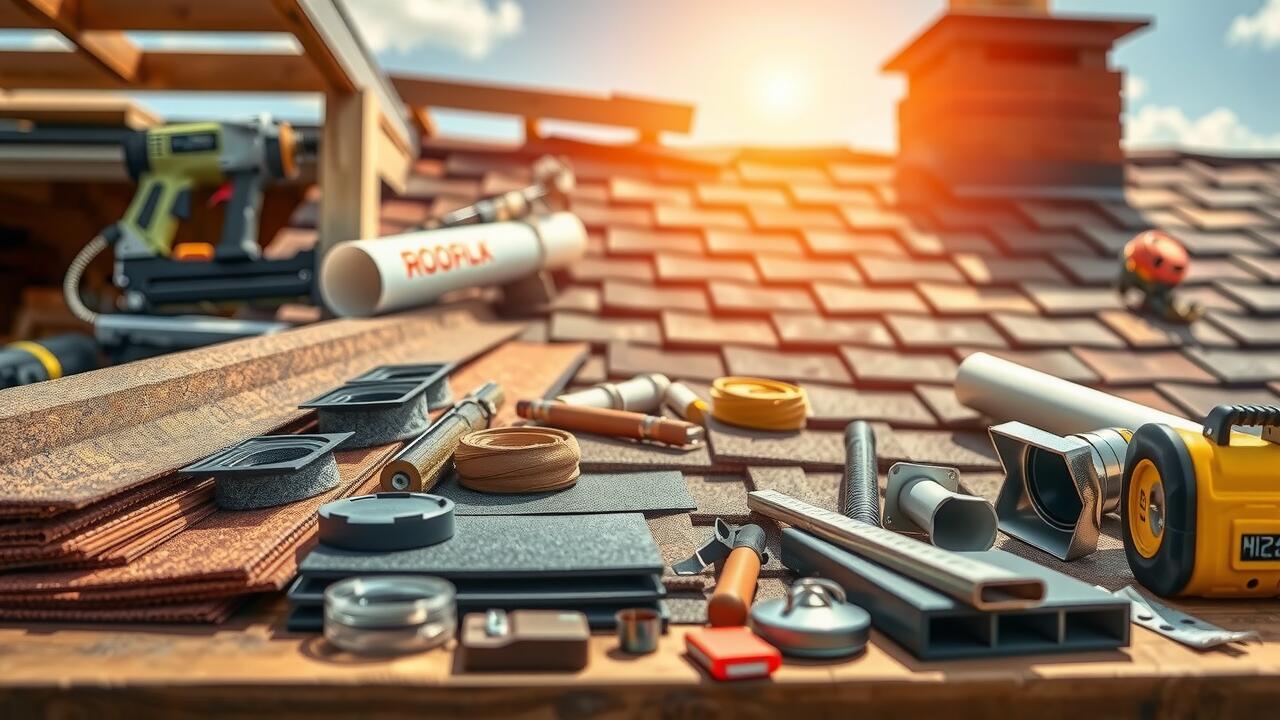
Table Of Contents
Installation Tips for Metal Roofing
When laying down metal roofing, attention to the underlayment is vital. The right moisture barrier can prevent rust and prolong the lifespan of the roof. Be sure to apply an ice and water shield along eaves and valleys, areas prone to water buildup. Additionally, proper placement of ventilation systems like vent pipe flashing allows for air circulation that minimizes condensation risks. Without adequate airflow, metal roofing can suffer from hidden moisture traps that lead to deterioration over time.
Alignment of metal panels is crucial during installation. It's not just about nailing them down; consider the thermal expansion that occurs with temperature changes. Over-tightening fasteners can lead to deformation or leakage down the line. Regularly check for proper alignment and gaps. Using seamless metal drains helps manage water runoff effectively, reducing the chances of pooling that can compromise integrity. Remember, a meticulous approach to positioning ensures a solid, long-lasting structure that stands up to the elements.
Avoiding Common Mistakes During Installation
Errors during installation can lead to significant issues down the line. For instance, overlooking the correct placement of vent pipe flashing can result in water intrusion, making a small mistake costly. Ensuring a precise alignment of seams while installing seamless metal drains not only enhances aesthetics but also bolsters functionality. These seemingly minor details are where the bulk of installation errors tend to emerge, often because contractors rush through to finish the job.
Another common pitfall involves the lack of adequate underlayment, often disregarded in the hustle. Without proper protection against moisture, roofing materials can wear down prematurely. Additionally, neglecting to account for local weather patterns during installation can put the roof at risk. Adapting techniques based on climate, such as utilizing reinforced seals in areas prone to heavy winds, can significantly enhance durability.
Identifying Roof Damage Early
Detecting roof damage early can save contractors and homeowners a lot of headache later. After a storm, it's crucial to examine every inch, especially areas like vent pipe flashing, which can be prone to leaks if not properly sealed. Look for missing or damaged shingles, rust on metal panels, and any signs of pooling water near seamless metal drains. Each of these issues can lead to more severe problems down the line if neglected.
Often, damage isn't immediately visible from the ground, which makes periodic inspections vital. A brief climb onto the roof lets you closely check for granule loss on shingles or cracks that may develop over time. Neatly installed vents and flashings should maintain their integrity; any dislocation can compromise the structure's overall safety. Tools like infrared cameras can offer an even more detailed view of potential hidden issues, making them an invaluable asset for proactive maintenance.
Signs to Look for After Severe Weather
After a storm rolls through, don’t just wait for the next sunny day to check out the roof. Start by inspecting the eaves and gutters for any signs of sagging or looseness. If you notice debris clumped inside the gutters, it might indicate poor drainage. Pay close attention to the flashing around vents and chimneys; compromised vent pipe flashing can lead to serious water intrusion issues. Also, keep an eye out for any misplaced shingles or sections of roofing that appear lifted, as they may be more susceptible to further weather damage.
Walk around the exterior and look for dropped shingles near the foundation or in the yard. Assess the condition of the seamless metal drains; if they’ve become misaligned or have rust spots, they likely need immediate attention. Even small details like cracked seals or gaps in the underlayment can lead to significant problems down the line. Make a checklist of what you observe so you can address potential issues with precision and care.
- Check for water stains or discoloration on ceilings and walls indoors
- Look for any cracks in the foundation or exterior walls
- Inspect windows and doors for drafts or gaps
- Review your property for fallen branches or debris that could cause damage
- Observe if any trees have shifted or if roots are exposed
- Listen for unusual sounds from the roof, like creaking or popping
- Document any damage with photos for insurance purposes
Repairing Leaks Like a Pro
When addressing a roof leak, early detection is key. Start by examining the areas around roof penetrations, like vent pipe flashings and areas where different materials meet. Check for missing shingles, as they can create gaps for water entry. If moisture stains appear on your ceiling or walls, that’s an obvious red flag. An effective way to identify the source of the leak is to look for pooling water around seamless metal drains; a blockage here can lead to overflow and inevitable damage.
Once you pinpoint the issue, take a systematic approach to repairs. If you're dealing with a flash flood of water pouring through, it’s vital to act fast. Use roofing sealant on small cracks and replace compromised flashing immediately. For persistent leaks, it may be necessary to overhaul sections of underlayment or replace entire shingles. Each step not only prevents further damage but also extends the lifespan of the roof. Always have your tools ready, so you're not scrambling in a pinch; a reliable caulking gun and a sturdy ladder are essentials in these scenarios.
Step-by-Step Guide to Leak Fixing
Finding a leak can feel like searching for a needle in a haystack, but there's a systematic way to tackle it. Start by pinpointing the source, commonly found around vent pipe flashings. Inspect the joints thoroughly, especially where the flashing meets the roofing material. Any gaps or cracks need immediate attention; a simple bead of sealant might save you from a bigger headache later. Make sure to pay attention to the seams as well. If there’s noticeable wear or separation, you may need to replace the flashing completely to ensure proper drainage.
Once you’ve confirmed where the leak is coming from, gather your tools. A roofing knife, caulk gun, and some quality roofing cement should be in your arsenal. Apply the roofing cement generously to the affected areas, ensuring you create a robust seal without missing any crucial points. If the drainage system utilizes seamless metal drains, inspect those for blockages or signs of corrosion too. A well-executed repair not only fixes immediate issues but also contributes to the overall integrity of the roofing system, ensuring protection from the elements.
Tools Every Roofing Contractor Should Have
Every contractor needs a reliable set of tools to keep roofing projects running smoothly. Quality power tools like nail guns and metal shears can save time and effort, especially when working with materials like seamless metal drains. Hand tools shouldn’t be overlooked either; a good set of utility knives and a sturdy pry bar can make all the difference. Additionally, having proper gauges for measuring pitch and slope is vital not just for aesthetics, but also for ensuring adequate drainage and longevity of the roof structure.
Beyond the basics, specialized tools are crucial for specific tasks. For instance, vent pipe flashing kits are indispensable for sealing around roof penetrations, preventing leaks that can lead to serious issues down the line. Safety gear such as harnesses, hard hats, and knee pads should always be part of the collection, as roofing work can be physically demanding. When fully equipped, contractors can tackle projects with confidence and efficiency, safeguarding both their work and personal safety.
FAQS
What are the key installation tips for metal roofing?
Make sure to properly align your panels, use high-quality fasteners, and ensure adequate ventilation. Always refer to the manufacturer’s guidelines for specific instructions.
How can I avoid common mistakes during roof installation?
Double-check measurements, avoid rushing through the process, and never skip flashing or underlayment. Taking your time can save you from costly oversights.
What signs should I look for to identify roof damage after severe weather?
Check for missing shingles, dents in metal panels, water stains on ceilings, and any visible sagging. If you see any of these, it might be time to call in a professional for further inspection.
What’s the best way to repair a roof leak?
Start by locating the source of the leak, then patch it with roofing cement or replace damaged shingles. Follow up with a thorough inspection to ensure there are no other hidden leaks.
What essential tools should every roofing contractor have?
Key tools include a roofing nailer, safety harness, ladder, utility knife, and a chalk line. Having the right tools on hand can make any roofing job easier and safer!